22 August 2026
Sydney Oz Comic-Con Is Around the Corner: Still Time for a 3D Printed Costume
Sydney Oz Comic-Con is close. Use this practical 3D-printing timeline to choose a costume focal piece, check the fit and get it ready in time.
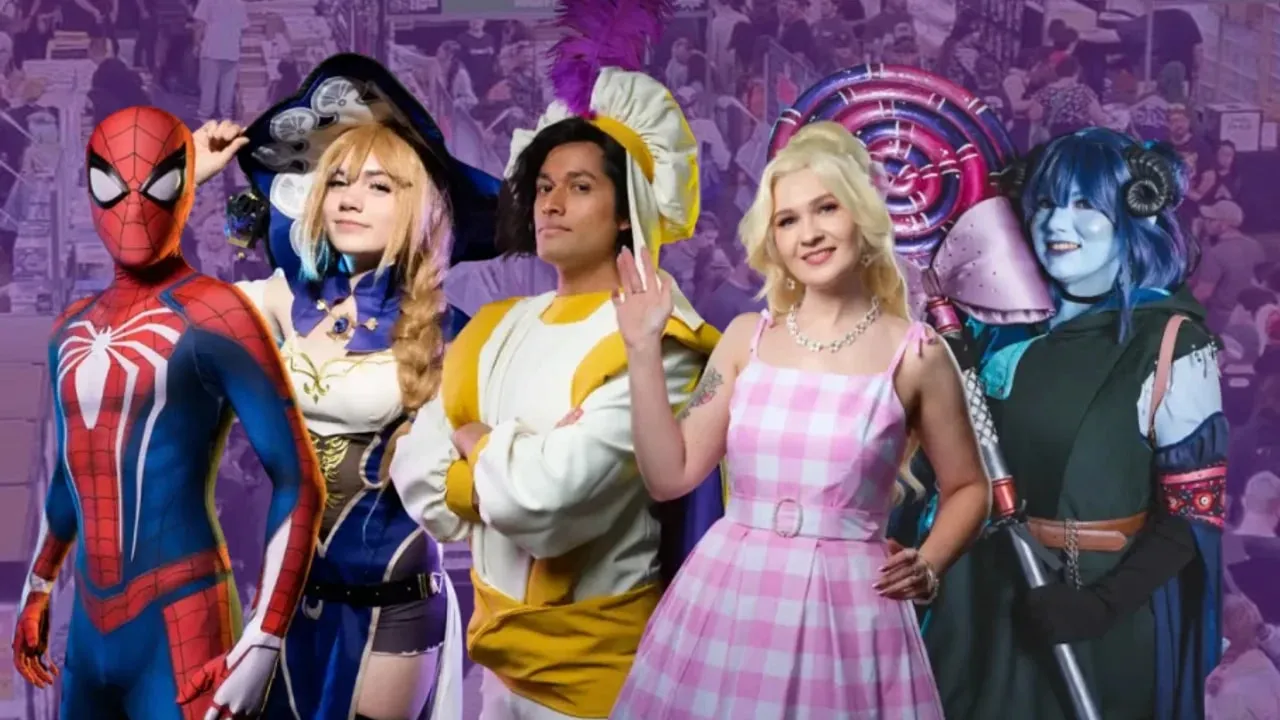
Sydney Oz Comic-Con is around the corner, but there is still time to get a costume project made and ready. The practical route is to choose one strong focal piece, confirm a printable model and leave enough room for printing, fit checks and finishing.
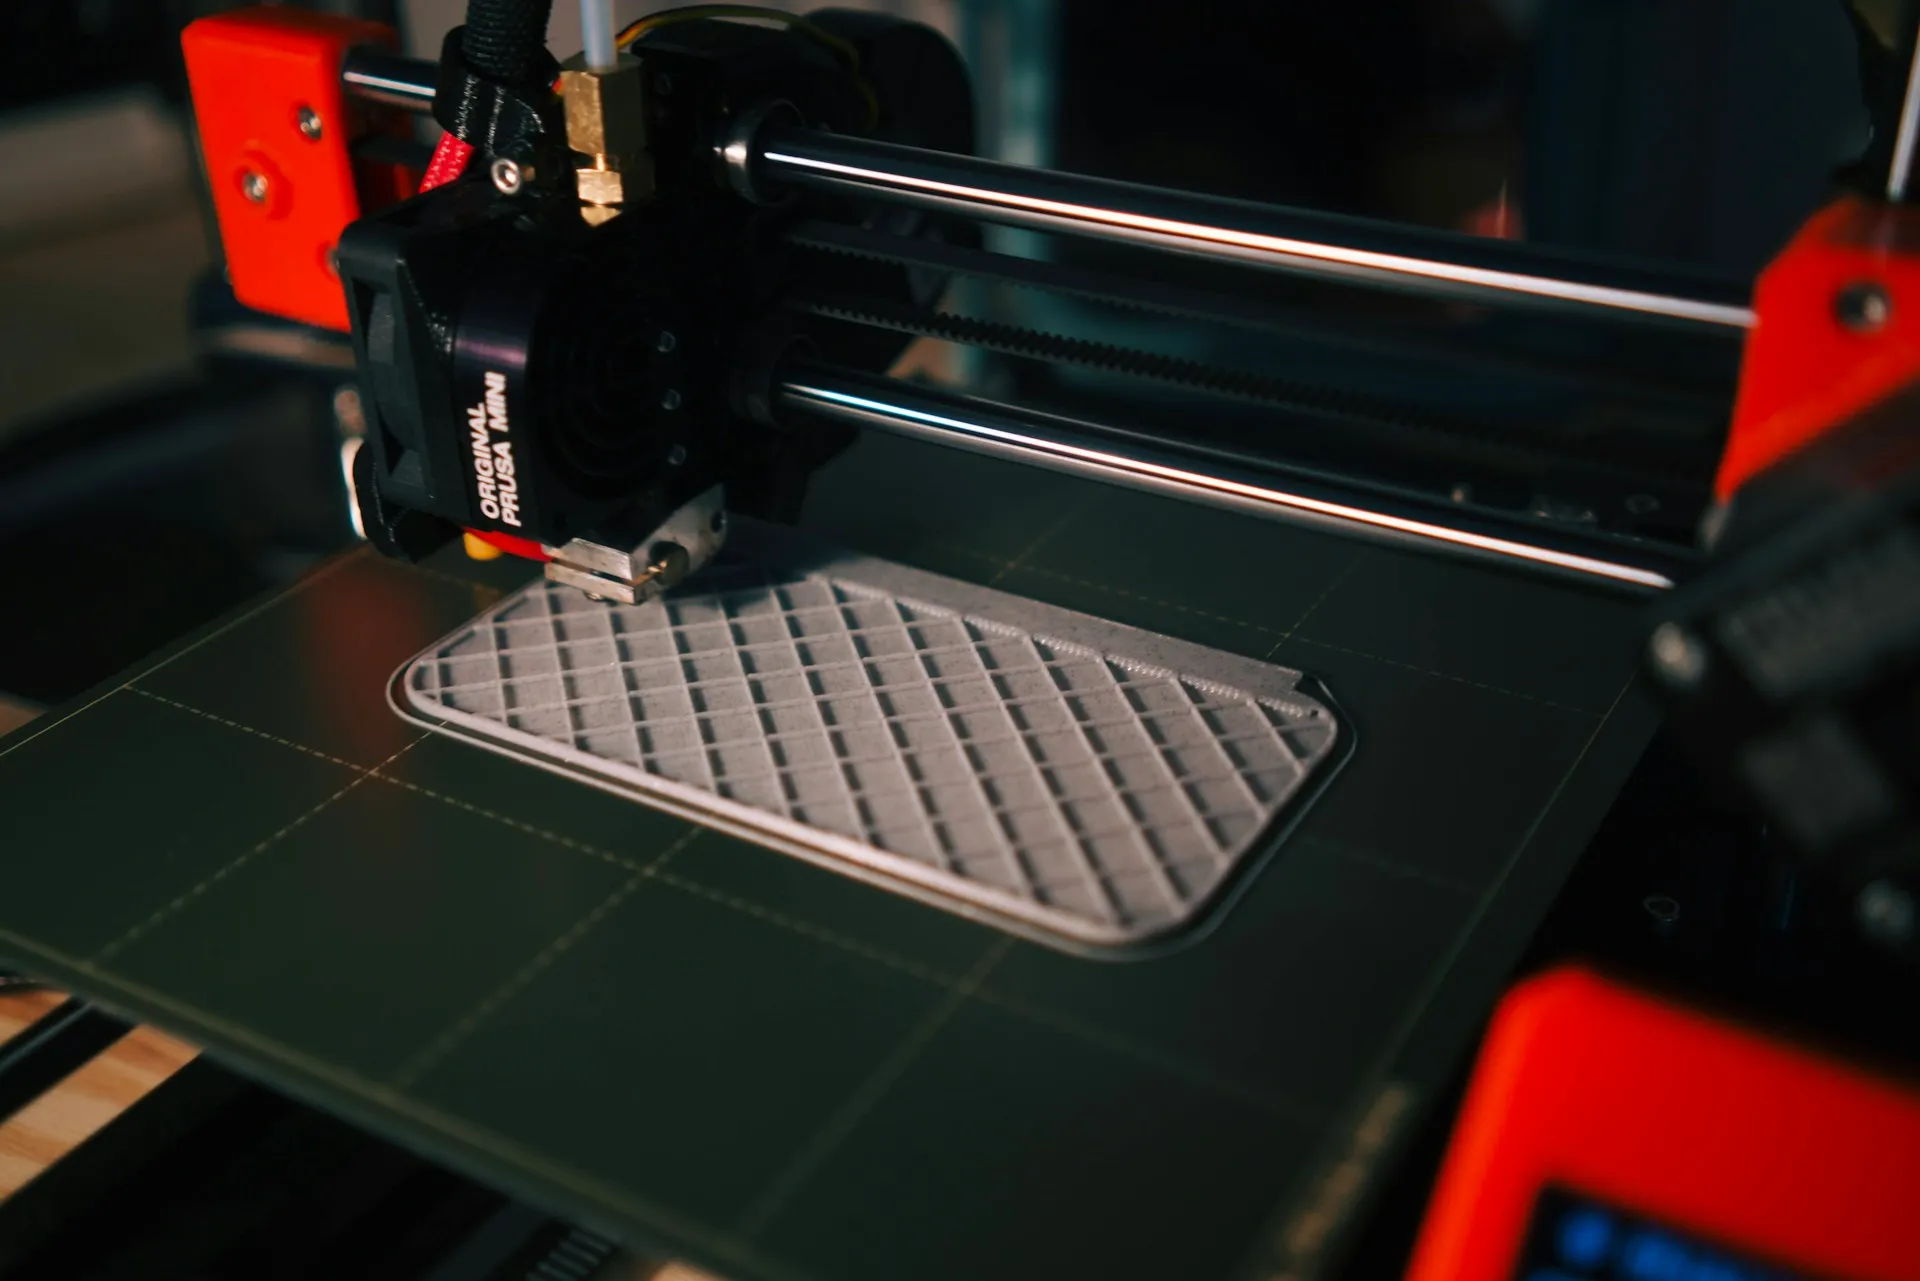
You do not need to own a printer. A local maker can print a supplied model, advise on material and sometimes help with finishing. Start with a clear brief and a realistic deadline.
Choose a costume plan you can finish
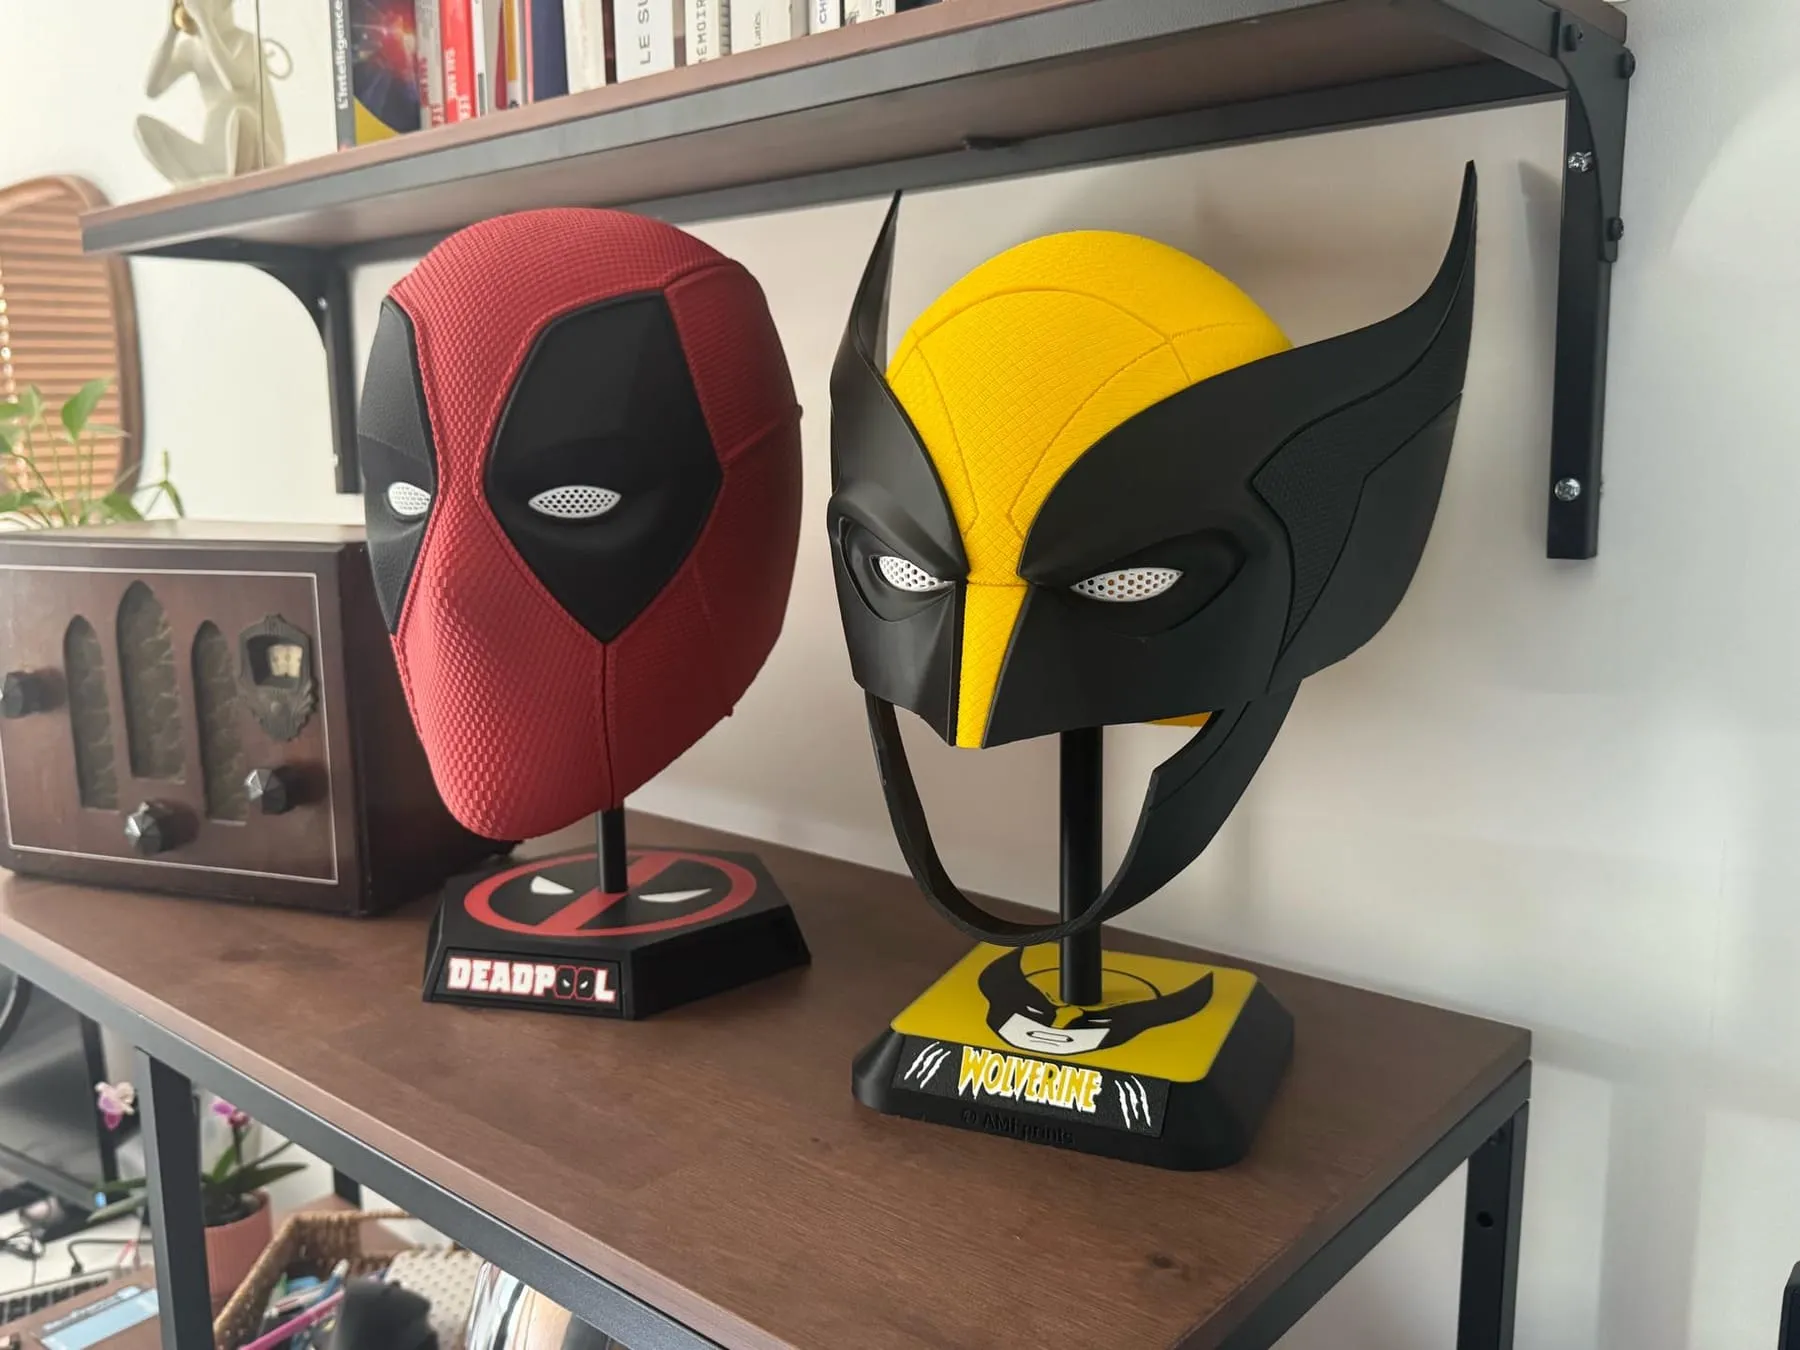
Choose the one or two pieces that make the costume recognisable. A chest emblem, shoulder armour set or signature handheld accessory can have more impact than trying to print every detail at once.
Prioritise parts that are:
- Hard to make cleanly from foam, cardboard or found objects.
- Visible in photos or central to the character.
- Comfortable enough to wear for a full day.
- Realistic to finish before the event.
Large helmets, full armour kits and elaborate multipart props can be excellent projects, but they need more time for fitting and finishing. If your deadline is tight, commission a smaller focal piece first.
Work backwards from Sydney Oz Comic-Con
Printing is only one stage. Allow time for the maker to review the file, print the sections, remove supports, test the fit and deliver the parts. If you want a painted result, add time for seam filling, sanding, primer, paint and curing.
A practical countdown looks like this:
- Four to six weeks out: choose the design, confirm the finished size and ask for quotes.
- Three to four weeks out: approve the scale, material and any test fit. Start the main print.
- Two to three weeks out: join sections, remove supports and resolve fit or hardware issues.
- One to two weeks out: sand, prime, paint and add straps, magnets or fasteners.
- Final days: do a full costume test, pack repair supplies and avoid making major last-minute changes.
This is a guide, not a guarantee. A maker’s workload, the model’s size and the finish you need all affect turnaround. Share your deadline at the first enquiry, rather than mentioning it after the quote arrives.
Send a file the maker can actually check
A screenshot is useful for showing the look you want, but it is not enough to quote or print the part. Send a download link or the actual model files, usually STL or 3MF, and include the design page so the maker can read its notes.
Before you send it, check:
- You have the correct character, prop and version of the model.
- The download includes all required sections, not only a display base or preview piece.
- The designer’s licence allows the intended personal-use print.
- The model has instructions for scale, assembly or hardware.
- You know whether it needs to fit your body, an existing costume part or a particular object.
Where to find cosplay files
Start with the designer’s own store or membership page when you know whose work you want. It is the clearest way to get the supported files, instructions and licence terms. For example, Yosh Studios on Cults publishes a catalogue of downloadable 3D models.
For broader searching, try established model platforms such as Printables, MakerWorld and MyMiniFactory. Search with the character or prop name plus the part you need, such as “helmet”, “pauldron”, “mask” or “prop kit”. Use filters and the model notes to check whether a design is wearable, already split into sections, and intended for your printer or a local print service.
Download only from the designer or platform that holds the listed file. Check the licence before printing, modifying or commissioning a copy, especially for paid files and character-inspired props. A purchased personal-use file does not automatically allow commercial production or resale.
Example wearable and prop models
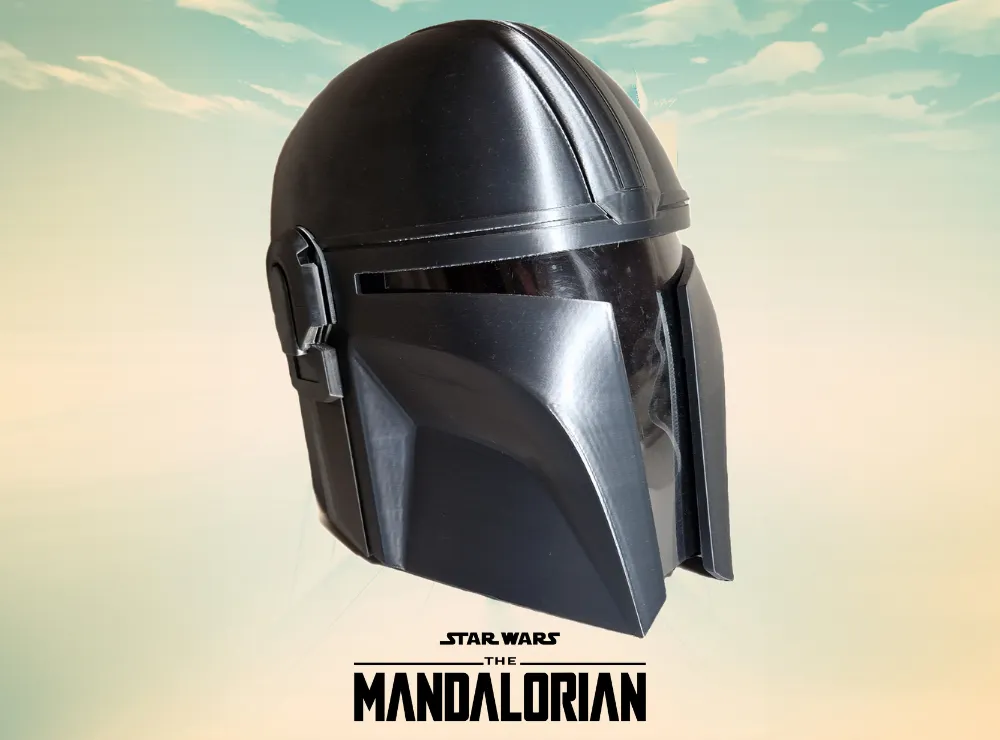
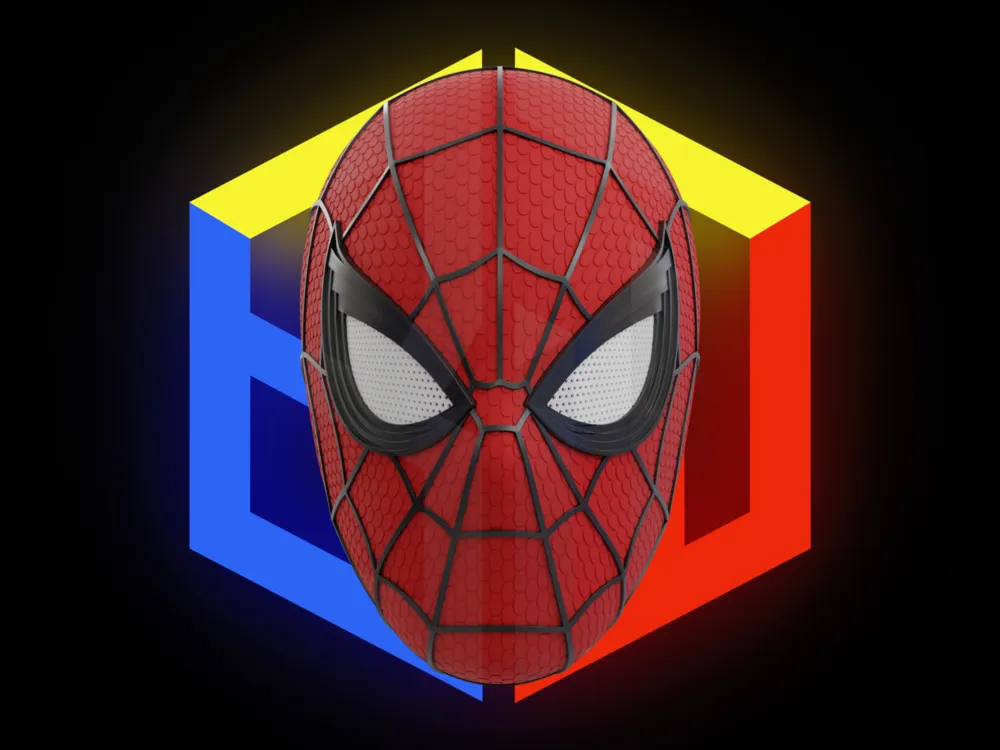
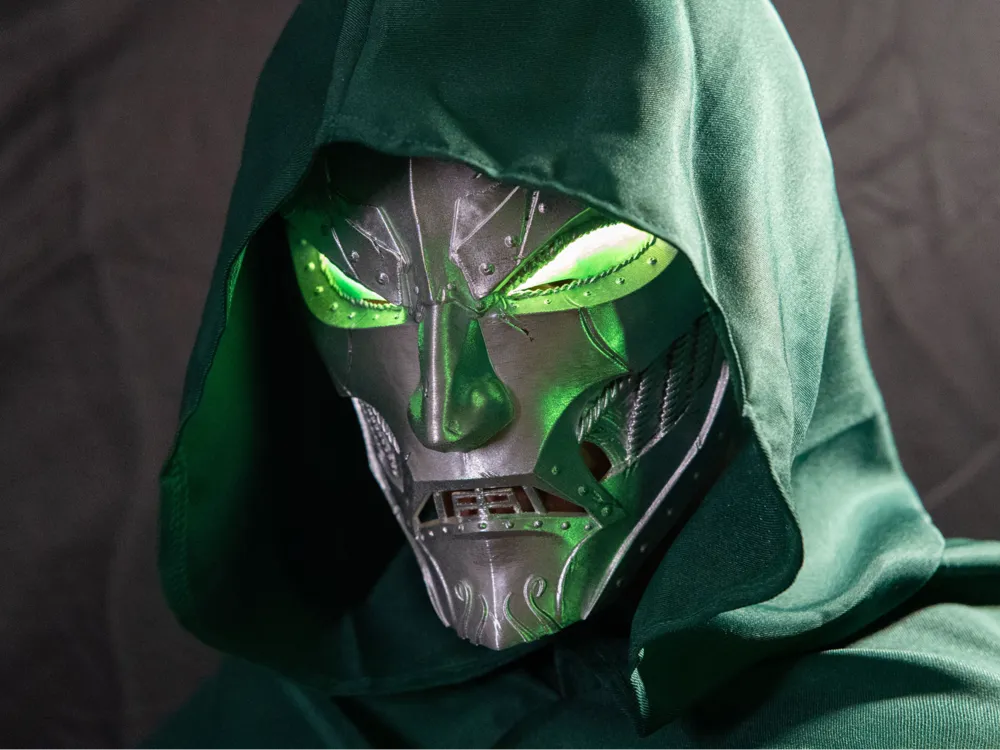
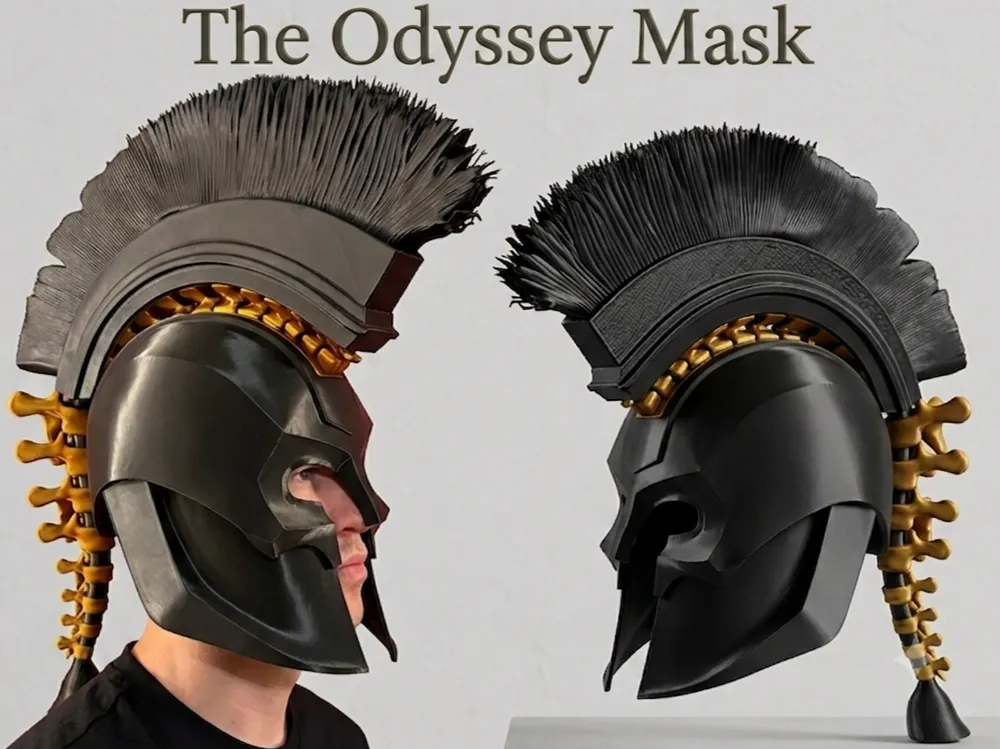
These MakerWorld listings show the kind of model details to check before you request a quote. Review each listing’s current licence, assembly notes, scale guidance and hardware requirements before downloading or commissioning a print.
Helmets and masks
Swords and props
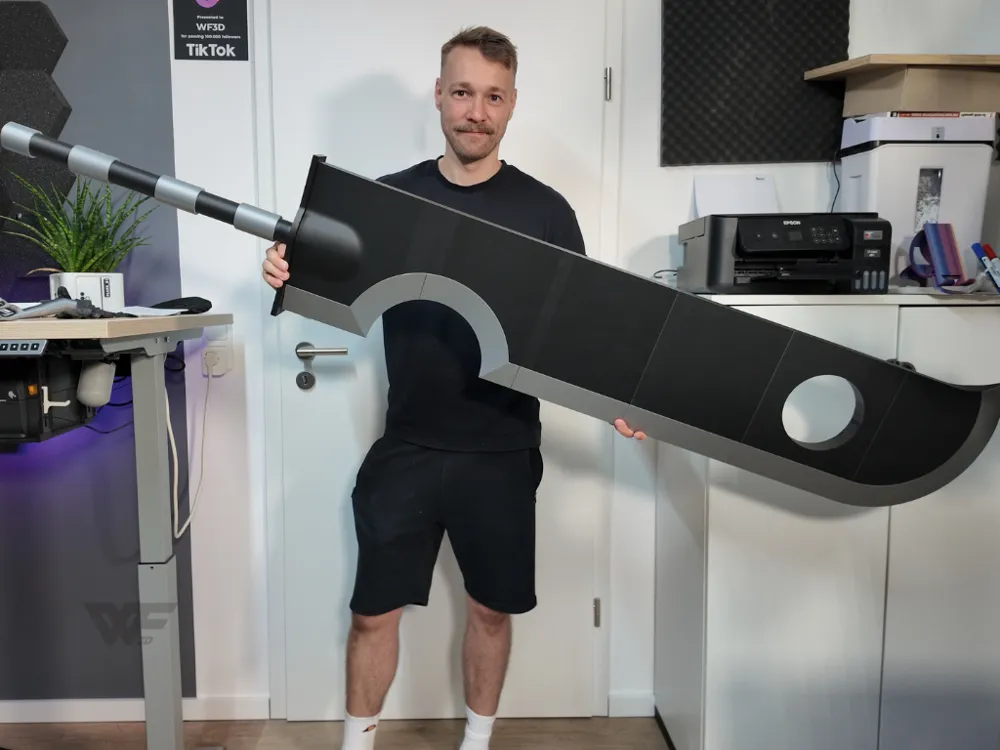
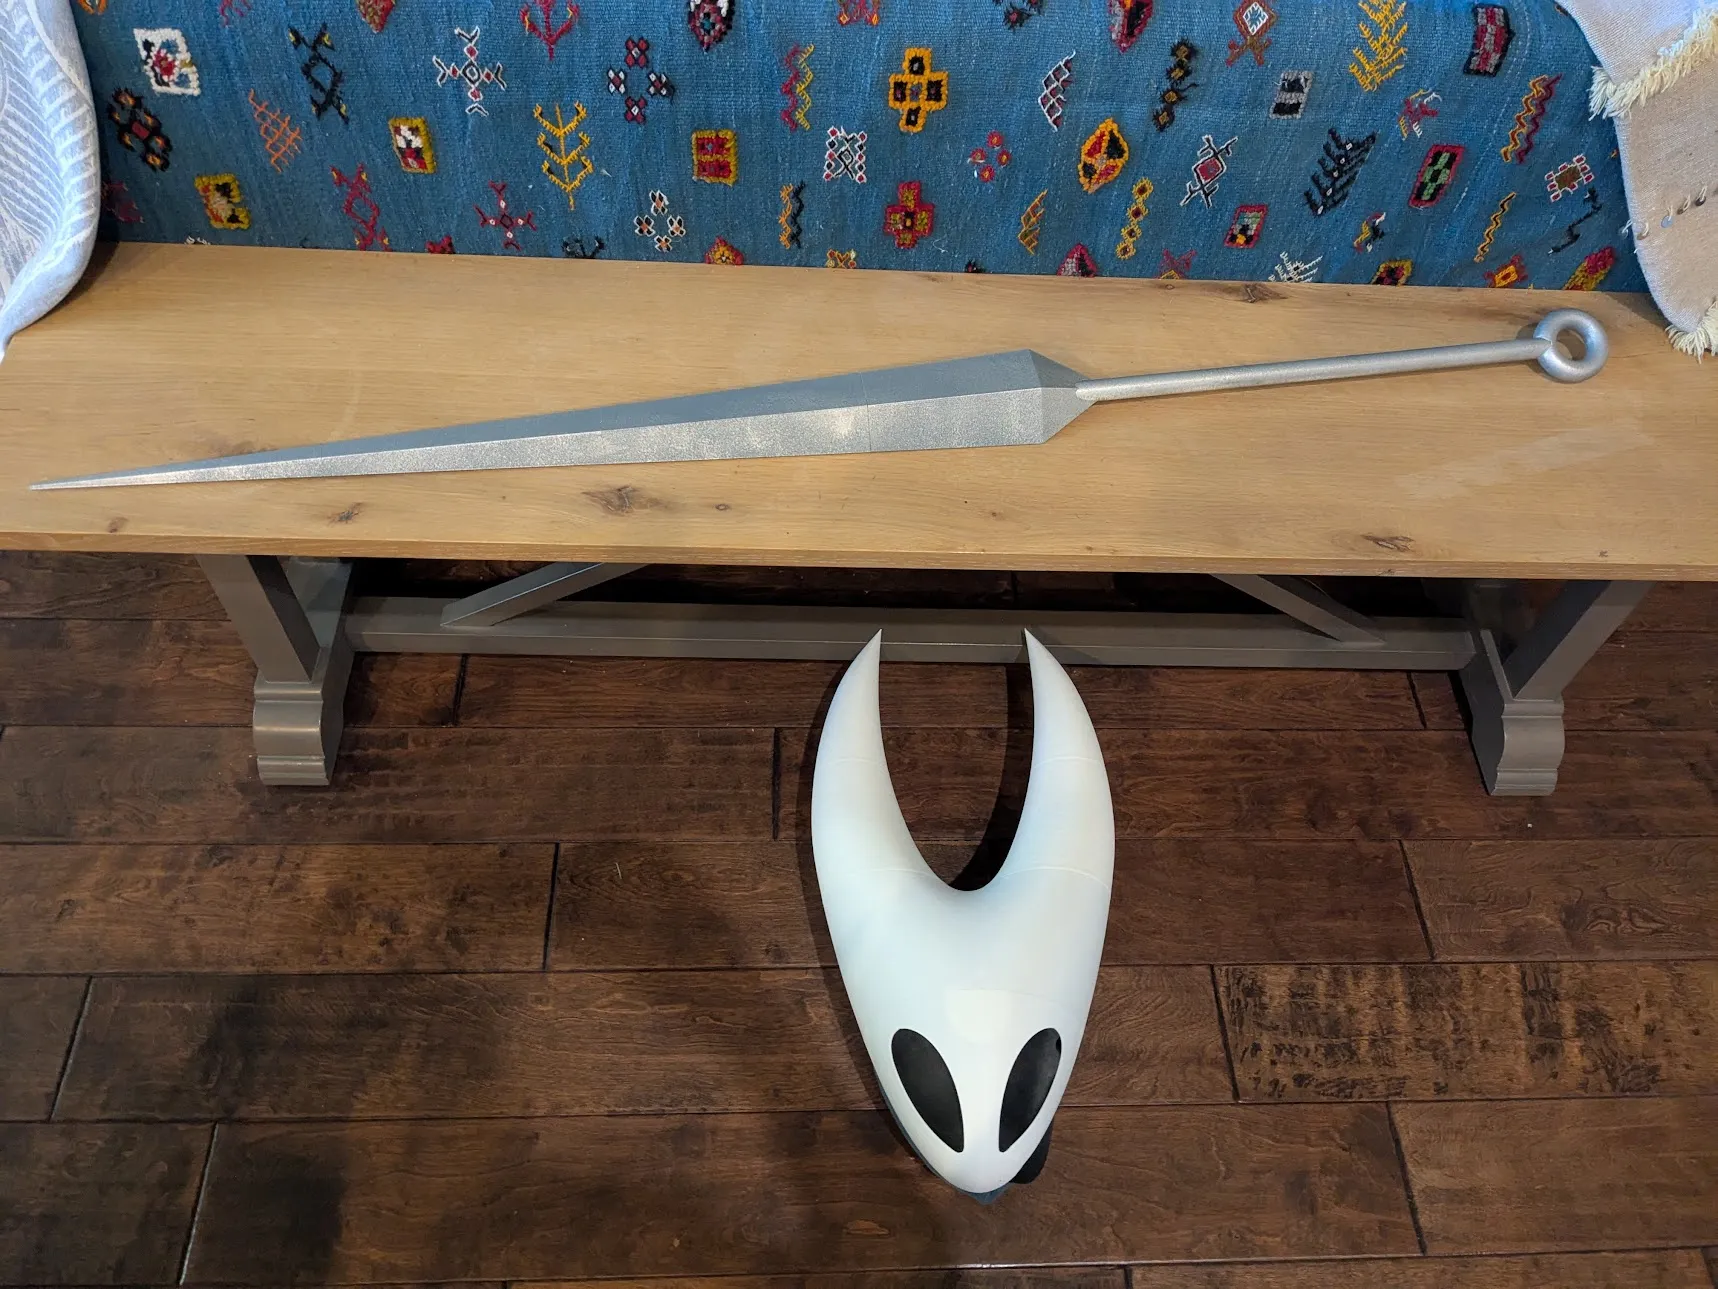
Armour and suits
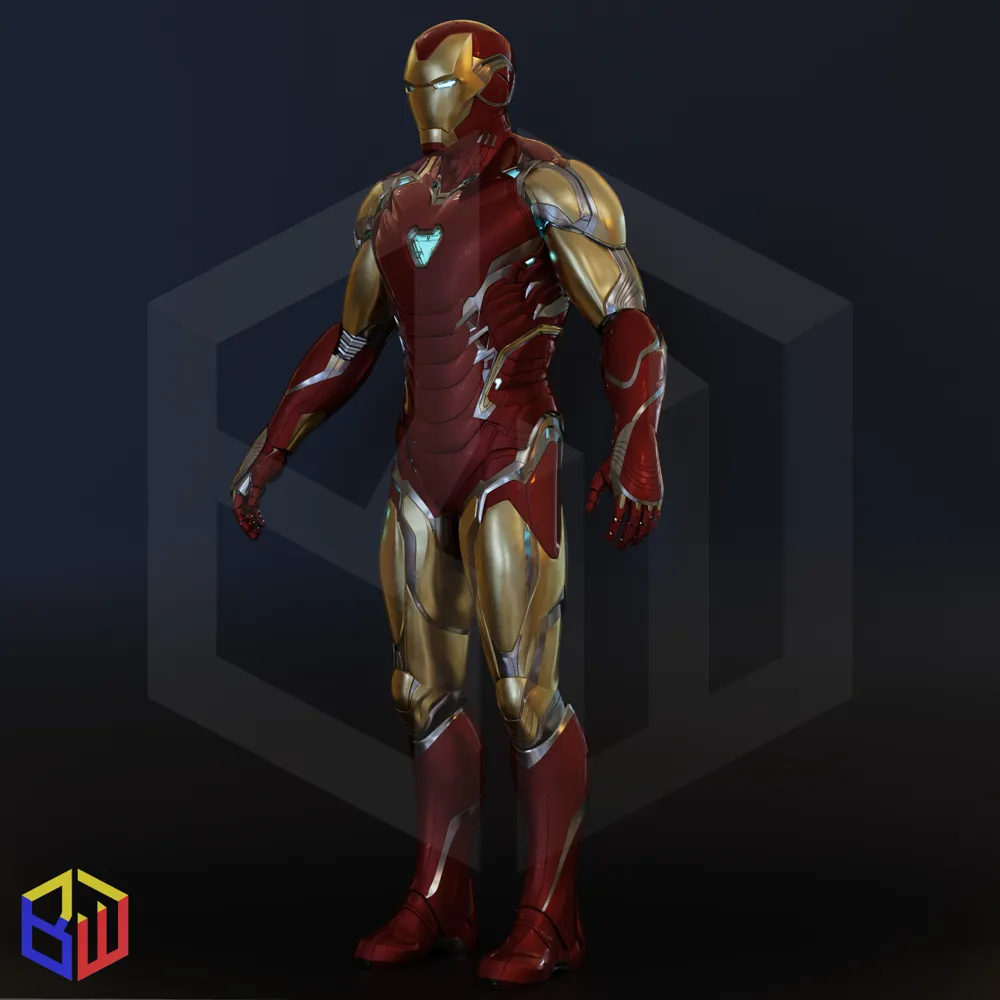
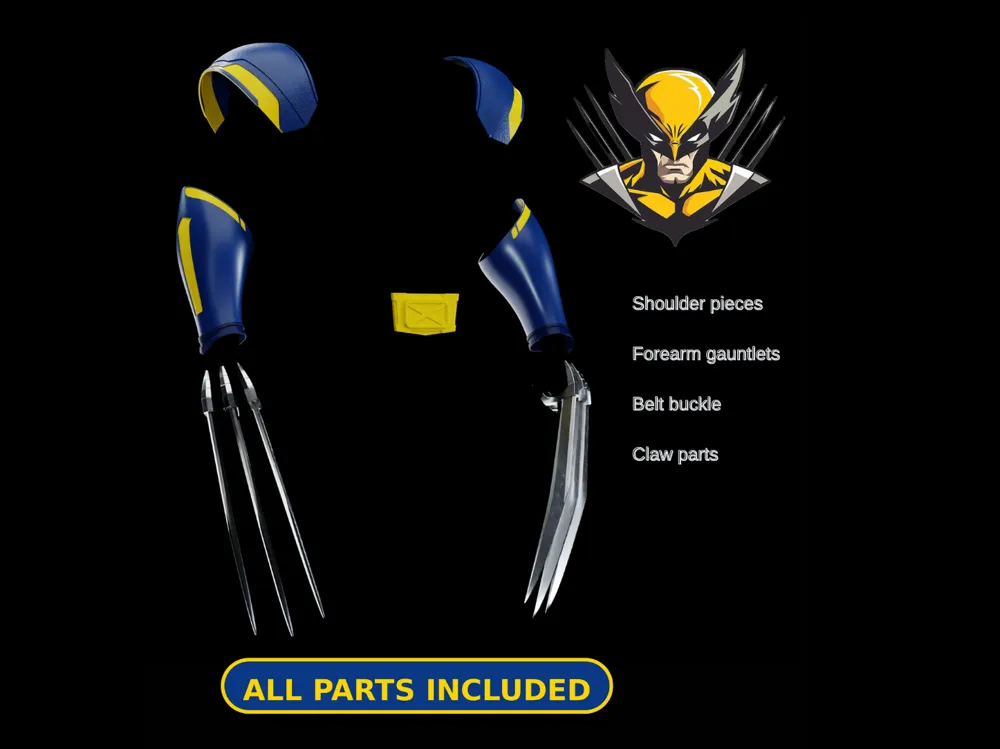
For large pieces, send the maker the exact listing plus your measurements. Ask whether the file needs splitting for their printer, whether it includes assembly instructions and whether a small fit sample is sensible before the full print.
If you only have reference images or a rough sketch, tell the maker you need design help. That is a different job from printing an existing file, and it should be quoted separately.
Get the fit right before committing to a large print
A prop can look perfect on screen and still be uncomfortable, too heavy or the wrong size in real life. Give the maker measurements early.
For a helmet, include your head circumference, front-to-back length and side-to-side width. For armour, include the body area it must cover and a photo of the costume layer underneath. For a handheld prop, describe how it will be carried and whether it needs a strap, handle, magnets or a safe display stand.
For a fitted or expensive multi-part piece, ask if a small test ring, slice or scale sample is worthwhile. A quick fit test is much cheaper than reprinting a full helmet.
Measure before you commit
Cosplay Calipers can help you capture consistent measurements and communicate them clearly to a maker. Treat them as a measurement aid, then send the measurements with photos and note where the costume needs clearance or movement.
Watch: using cosplay calipers for fit checks
Choose a material for the way the prop will be used
For many indoor convention props, PLA is a sensible starting point. It is widely available, prints cleanly and comes in many colours. It is well suited to display pieces and costume details that will be painted.
PETG can be a better option for parts that need more toughness or flexibility, though it may take more cleanup. Resin printing is useful for small, highly detailed items such as jewellery, badges or miniature accessories, but it needs appropriate post-processing and is not automatically the right choice for a hard-wearing wearable item.
Tell the maker how the prop will be used, stored and transported. Avoid leaving a PLA prop in a hot car, especially in Sydney weather, as heat can distort it.
Decide what “finished” means in the quote
A raw print and a convention-ready prop are different deliverables. Be specific about which stages you need help with:
- Support removal and trimming.
- Joining printed sections.
- Sanding and filling seams.
- Priming and painting.
- Installing magnets, straps, screws or other hardware.
- Assembly, packing and delivery.
Reference images are useful here. They show whether you want clean painted plastic, a metallic finish, weathering or a deliberately rough handmade look. A maker can separate the printing and finishing costs when the brief is clear.
Keep convention safety in mind
Before committing to a weapon-shaped prop or a large costume piece, check the current Sydney Oz Comic-Con event information and rules. Policies can cover size, sharp edges, realistic finishes, moving parts, peace bonding and how props must be carried.
Build and finish the item around the published rules, not the other way around. If a prop could be mistaken for a real weapon, ask the event organiser about the safest acceptable finish before spending time on paint or hardware.
What to include in your quote request
Send the same complete brief to a few suitable makers so quotes are easier to compare:
- A link to, or copy of, the exact printable model.
- Photos of the intended character or finish.
- Your required final dimensions and any fit measurements.
- Material and colour preferences, if you have them.
- Whether you need printing only or help with assembly and finishing.
- The quantity, delivery suburb and the date you need it by.
- Any hardware, straps, magnets or electronics the part must accommodate.
Start with the 3D printing services directory to find makers who can help with custom prints. Look beyond the headline price: ask about maximum build size, turnaround, post-processing, delivery and whether they are comfortable with wearable or cosplay-scale parts.
If you are preparing for Sydney Oz Comic-Con, send a complete brief now and keep the first version practical. A well-sized, well-finished focal prop beats an ambitious kit that is still in pieces on the kitchen table the night before.